Showing posts with label Dina Wakley Media. Show all posts

Sunday, 18 November 2018

Art Journal Spread- "Hope is Never Lost" by Dutt Preety (November Challenge Inspiration)

Hi friends :)
Good Morning !

Today, I'd like to share an Art Journal Spread- "Hope is Never Lost".
This is my inspiration for the November Challenge.
The theme for November is to "Use Red"
I've prepared a lil' pictorial for this spread. 
Hope you are inspired to use red & join the challenge to win amazing prizes! 

Art Journal Spread- Hope is Never Lost 


Pictorial:

Step 1: Created the basic composition by adhering washi tapes to the art journal pages. Applied clear gesso to the pages to prepare them for media work. Then added color by using Lindy's sprays. 

Step 2: Mixed Modelling paste with black gesso & applied the black paste through a script design stencil 

Step 3: Sponged on distress oxides in shades of red through a floral design stencil 

Step 4: Did background stamping using archival inks & distressed the edges of the pages with black soot distress ink

Step 5: Created the clusters by layering die cuts, Tim Holtz paper dolls, burlap, chipboard, thread & gauze. Adhered everything using Tacky glue or Soft Gel Medium. In the end, added a few ink splatters & accents of teal/blue with paint. 

Products Used:

Distress Oxides - Abandoned Coral & Fired Brick
Prima Finnabair's Impasto Paint- Jade
Prima Finnabair's Patina Paste
Ranger's Archival Inkpad- Jet Black 
Tim Holtz Idea-Ology Paper Dolls
Tim Holtz Idea-Ology Quote Chips

Please don't forget to join Art & Soul Studio's November Challenge. There are awesome prizes on offer & we have a stunning mood board every month. For inspiration, please check out the gorgeous projects made by my talented team mates. All the details about the November Challenge can be found HERE.


Lastly, please do share your beautiful work with us on our Facebook group- Soul Sisters, we would love to see what you create with supplies from the Art & Soul Studio Store.

Thanks a lot for your precious time :)
Stay Blessed!

Friday, 26 October 2018

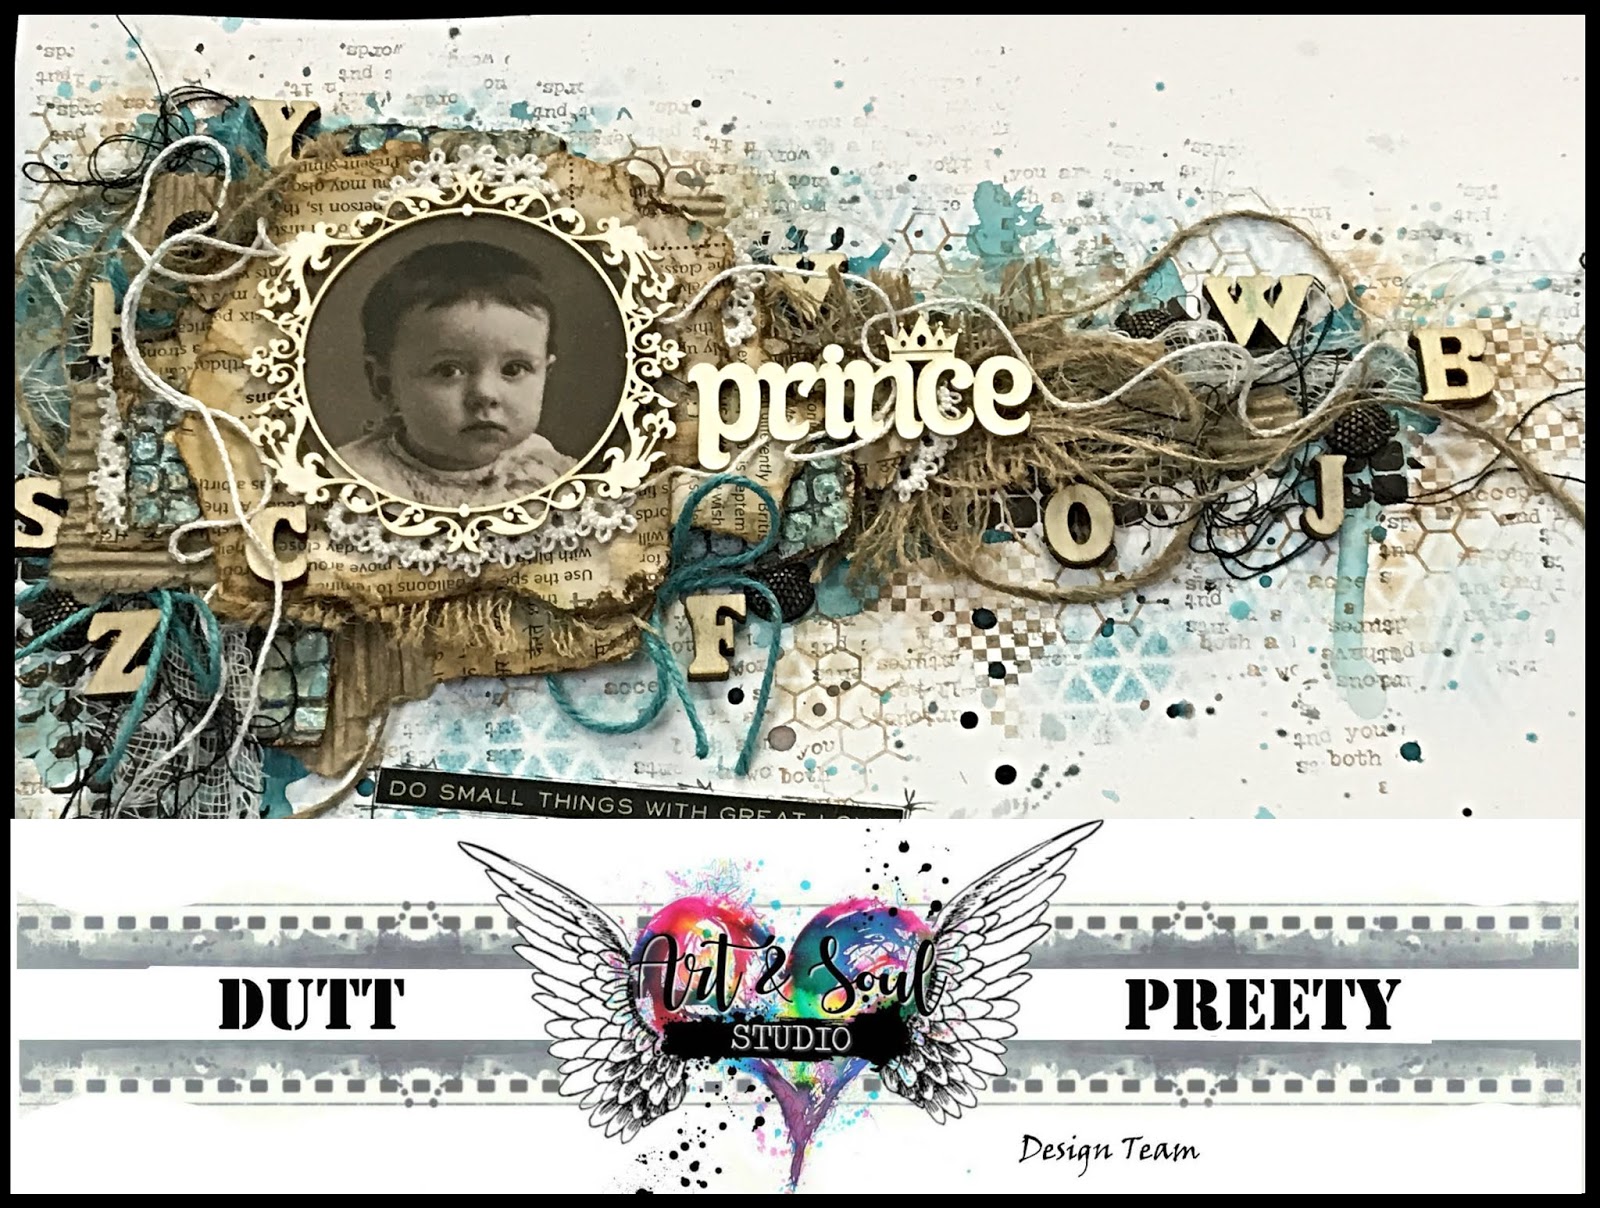
Vintage Inspired Mixed Media Layout "Prince" by Dutt Preety

Hi friends :) 
Good Morning!

I'm very happy & thankful to be on the Art & Soul Studio blog today. 
This is my first DT project for Art & Soul Studio, so I hope you'll enjoy it! 
I have created a Vintage Inspired Mixed Media Layout- "Prince" along with a pictorial. 

Vintage Inspired Mixed Media Layout- Prince


Here are some close-up photos of the layout:


Pictorial:

Step 1: Applied clear gesso to a 12 by 12 piece of heavy white cardstock (to prep it for mixed media), then mixed Dark Chocolate Impasto Paint with Modelling Paste to create a dark texture paste, applied it through one of the stencils from Tim Holtz Mini Stencil Set #27. Then added color to the background using various shades of blue & brown sprays by Lindys Gang. 

Step 2: Did background stencilling by sponging on distress inks through a couple of stencils from the Tim Holtz Mini Stencil Set #27

Step 3: To create DIY vintage looking papers (for the photo mats), I used book pages, scrunched them up to create creases, then dyed them with a solution of water mixed with 1 packet of instant coffee & a few drops of distress ink reinkers. Added splashes of more intense color in some spots to create a worn out, old look. Let these air dry. 

Step 4: Did background stamping using archival & distress inks and texture as well as script stamps 

Step 5: Chose the focal element (a vintage photo) from Tim Holtz Found Relatives Cards, punched it out with a circle punch. Collected all the elements for layering, including twine, burlap, corrugated cardboard, DIY vintage papers, cheese cloth, chippies, gems, crochet lace and thread. Deckled & distressed the edges of all the papers & adhered everything down to create a visually pleasing composition. Used Tacky glue to stick the elements & used pieces of cardboard as well as foam tape between some of the layers, to create added dimension

Step 6: In the end, created ink splatter using watered down distress inks, added some quotes using stickers, added a bit of shine to the project using Finnabair's waxes and drew on a few scribbly borders for the sentiments. 

Products Used: 


Please don't forget to join Art & Soul Studio's Monthly Challenge. There are awesome prizes on offer & we have a stunning mood board every month. For inspiration, please check out the gorgeous projects made by my talented team mates. All the details about the October Challenge can be found HERE


Lastly, please do share your beautiful work with us in our Facebook group- Soul Sisters, we would love to see what you create with supplies bought from the Art & Soul Studio Store

Thanks a lot for your precious time 
Have a great weekend :)
Stay Blessed!

Friday, 28 September 2018

Vintage tag with Aga

Hi all mixmedia fans!
Today I would like to present my first post as a new Art and Soul Studio DT member. To start with, I just want to tell you how happy I am to be here and to be able to inspire you. 

What I made is a vintage style tag. I love all what is vintage! I used acrylic paints by Dylusions to make background. The paints are fantastic. I used a sponge roller to make smudges. I like this way since it is fast and gives nice effects. I couldn't resist Ranger stamps designed by Dina Wakley. I have been in love with for ages.
 I hope you will like my inspiration. Have a nice day!


Have a nice day :)


I used:

Thursday, 21 June 2018

June Challenge by Tanyalee Kahler

Hi everyone, Tanyalee here with my take on the Soul Sisters June Challenge.


I created an art journal page using loads of texture, lime and jade green, and my own handwriting.


I started off with a layer of gesso to seal the page. Then I added some ephemera pieces and collaged then to the spread. The colours matched the mood board really well, as did the impasto paints from Finnabair that I used to blend into the background.


Next, I added texture paste through a few different stencils - some I added paint too, and some I used snowflake paste and patina paste for even more texture.


Once the texture layers were dry and finished I added marks with Neocolour II water-soluble crayons and some of my trademark ink splatter. Before finishing the spread with the quote written in my faux calligraphy handwriting.


I love the bright colourful spread and think this colour scheme is fast becoming a new favourite of mine.

Are you inspired by the mood board? Then make sure you submit something you make to the Soul Sisters Facebook group to go in the running for a prize. More details about the challenge are below:

Moodboard Challenge Rules

Please use our mood board as inspiration to create an art journal page, a card or a scrapbooking layout. Use the mood board however you want but you must add your own handwriting on your project.

As these challenges are sponsored by Art and Soul Studio please make sure that you use at least one product that is available from the store.

There are 3 x $50 vouchers up for grabs!! One will be awarded for scrapbooking layouts, one for cards and one for mixed media/art journaling.

You can enter an art journal page, a card and a layout but you cannot win all three.

You have until the 11:59pm on the 30th of JUNE to enter and then the design team will vote to determine the lucky winners

Please note that the vouchers can only be won by residents of Australia but if you are from overseas and win the challenge you will be offered a guest design team spot.

Supplies
Neocolour II Crayons (Indigo BluePaynes Gray)
Impasto Paint (Green AppleJade)
Ephemera pieces for collage (magazines, washi tape etc)
Patina Paste (Blue, Mint-Green)
Snowflake Paste
Dina Wakely stencil


Wednesday, 13 June 2018

Tag Journal by Tanyalee Kahler

Hi everyone, Tanyalee here with my latest blog post and tutorial for Art and Soul Studio.
I have made a mini journal using tags, water-soluble crayons, collage and paint.


To start off with, I put a layer of gesso on each side of the tags so the watercolour doesn't soak right in. Then I added some impasto paint in coordinating colours and marks using the water-soluble crayons.

I then joined all of the tags together with washi tape and gel medium to create the journal

Once that was all dry, I went crazy with collage papers and stencils with light modelling paste.

And to finish it off, I added some acrylic ink drips in coordinating colours.

It was a relatively quick project but needed a fair amount of drying time between each layer.

I plan on using the finished journal to tell a story as part of the Get Messy Art Journal Season of Story prompts.


Supplies:

Impasto Paint (Green Apple, Jade)
Stencil Girl Stencil - S150 Mayne
Liquitex Acrylic Ink (Vivid Lime Green and Cerulean Blue)
Letter Stickers
Fabric Ribbon


Blue Fairy on a Pink Donut Fantasy Acrylic Painting Tutorial

  Blue Fairy on a Pink Donut Fantasy Acrylic Painting Tutorial Glamour Shots Hey there everyone, Kristina ...