
Hi friends :)
Good Morning!
I'm very happy & thankful to be on the Art & Soul Studio blog today.
This is my first DT project for Art & Soul Studio, so I hope you'll enjoy it!
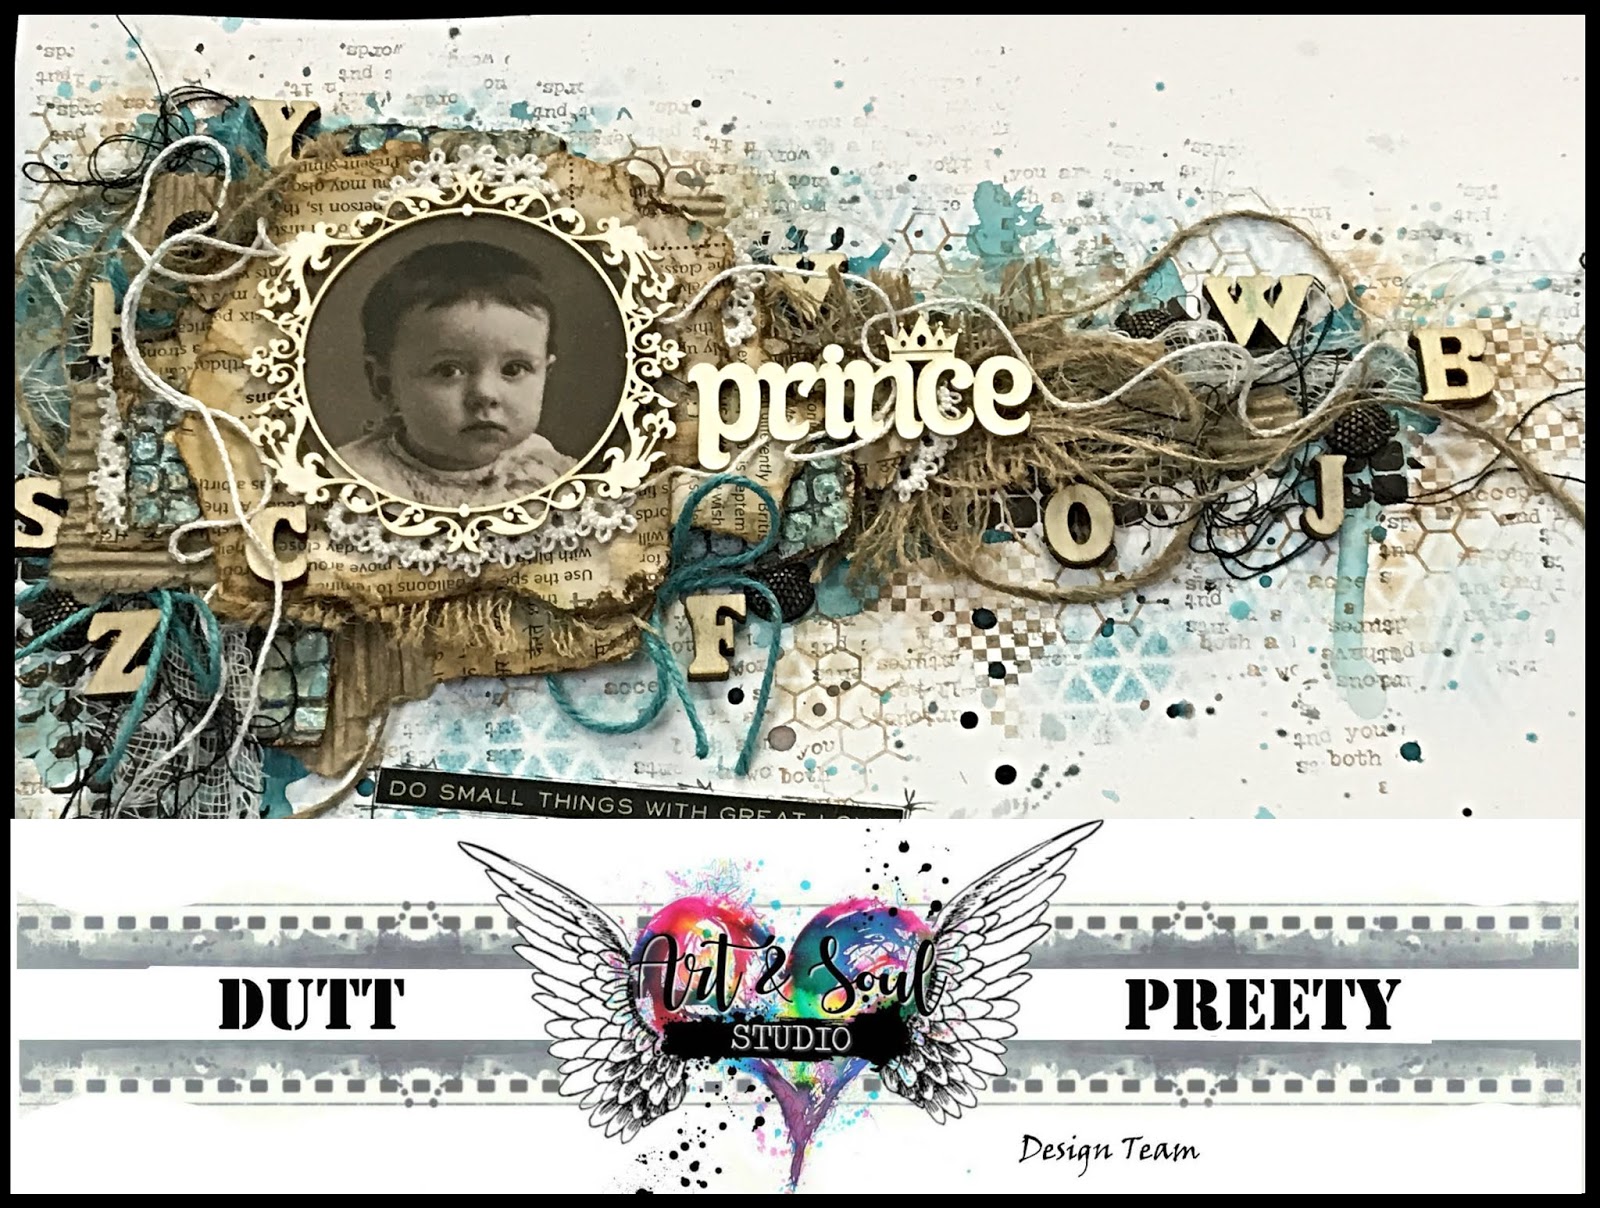
I have created a Vintage Inspired Mixed Media Layout- "Prince" along with a pictorial.
Vintage Inspired Mixed Media Layout- Prince

Here are some close-up photos of the layout:


Pictorial:
Step 1: Applied clear gesso to a 12 by 12 piece of heavy white cardstock (to prep it for mixed media), then mixed Dark Chocolate Impasto Paint with Modelling Paste to create a dark texture paste, applied it through one of the stencils from Tim Holtz Mini Stencil Set #27. Then added color to the background using various shades of blue & brown sprays by Lindys Gang.

Step 2: Did background stencilling by sponging on distress inks through a couple of stencils from the Tim Holtz Mini Stencil Set #27

Step 3: To create DIY vintage looking papers (for the photo mats), I used book pages, scrunched them up to create creases, then dyed them with a solution of water mixed with 1 packet of instant coffee & a few drops of distress ink reinkers. Added splashes of more intense color in some spots to create a worn out, old look. Let these air dry.

Step 4: Did background stamping using archival & distress inks and texture as well as script stamps

Step 5: Chose the focal element (a vintage photo) from Tim Holtz Found Relatives Cards, punched it out with a circle punch. Collected all the elements for layering, including twine, burlap, corrugated cardboard, DIY vintage papers, cheese cloth, chippies, gems, crochet lace and thread. Deckled & distressed the edges of all the papers & adhered everything down to create a visually pleasing composition. Used Tacky glue to stick the elements & used pieces of cardboard as well as foam tape between some of the layers, to create added dimension

Step 6: In the end, created ink splatter using watered down distress inks, added some quotes using stickers, added a bit of shine to the project using Finnabair's waxes and drew on a few scribbly borders for the sentiments.

Products Used:
Please don't forget to join Art & Soul Studio's Monthly Challenge. There are awesome prizes on offer & we have a stunning mood board every month. For inspiration, please check out the gorgeous projects made by my talented team mates. All the details about the October Challenge can be found HERE.

Lastly, please do share your beautiful work with us in our Facebook group- Soul Sisters, we would love to see what you create with supplies bought from the Art & Soul Studio Store.
Thanks a lot for your precious time
Have a great weekend :)
Stay Blessed!

This is wonderful. Your instructions make me think I really can and want to use modeling paste. Your choices are subtle and therefore spectacular. Just wondering about the prince word cut - was that a chipboard piece, or was it cut out by you using a font and a cutting system, etc.?
ReplyDeleteThanks a lot Jodi :) glad you like it ! The prince word is a chipboard (chipzeb) by Mudra stamps. xx
Delete