Showing posts with label Distress Inks. Show all posts

Wednesday, 20 February 2019

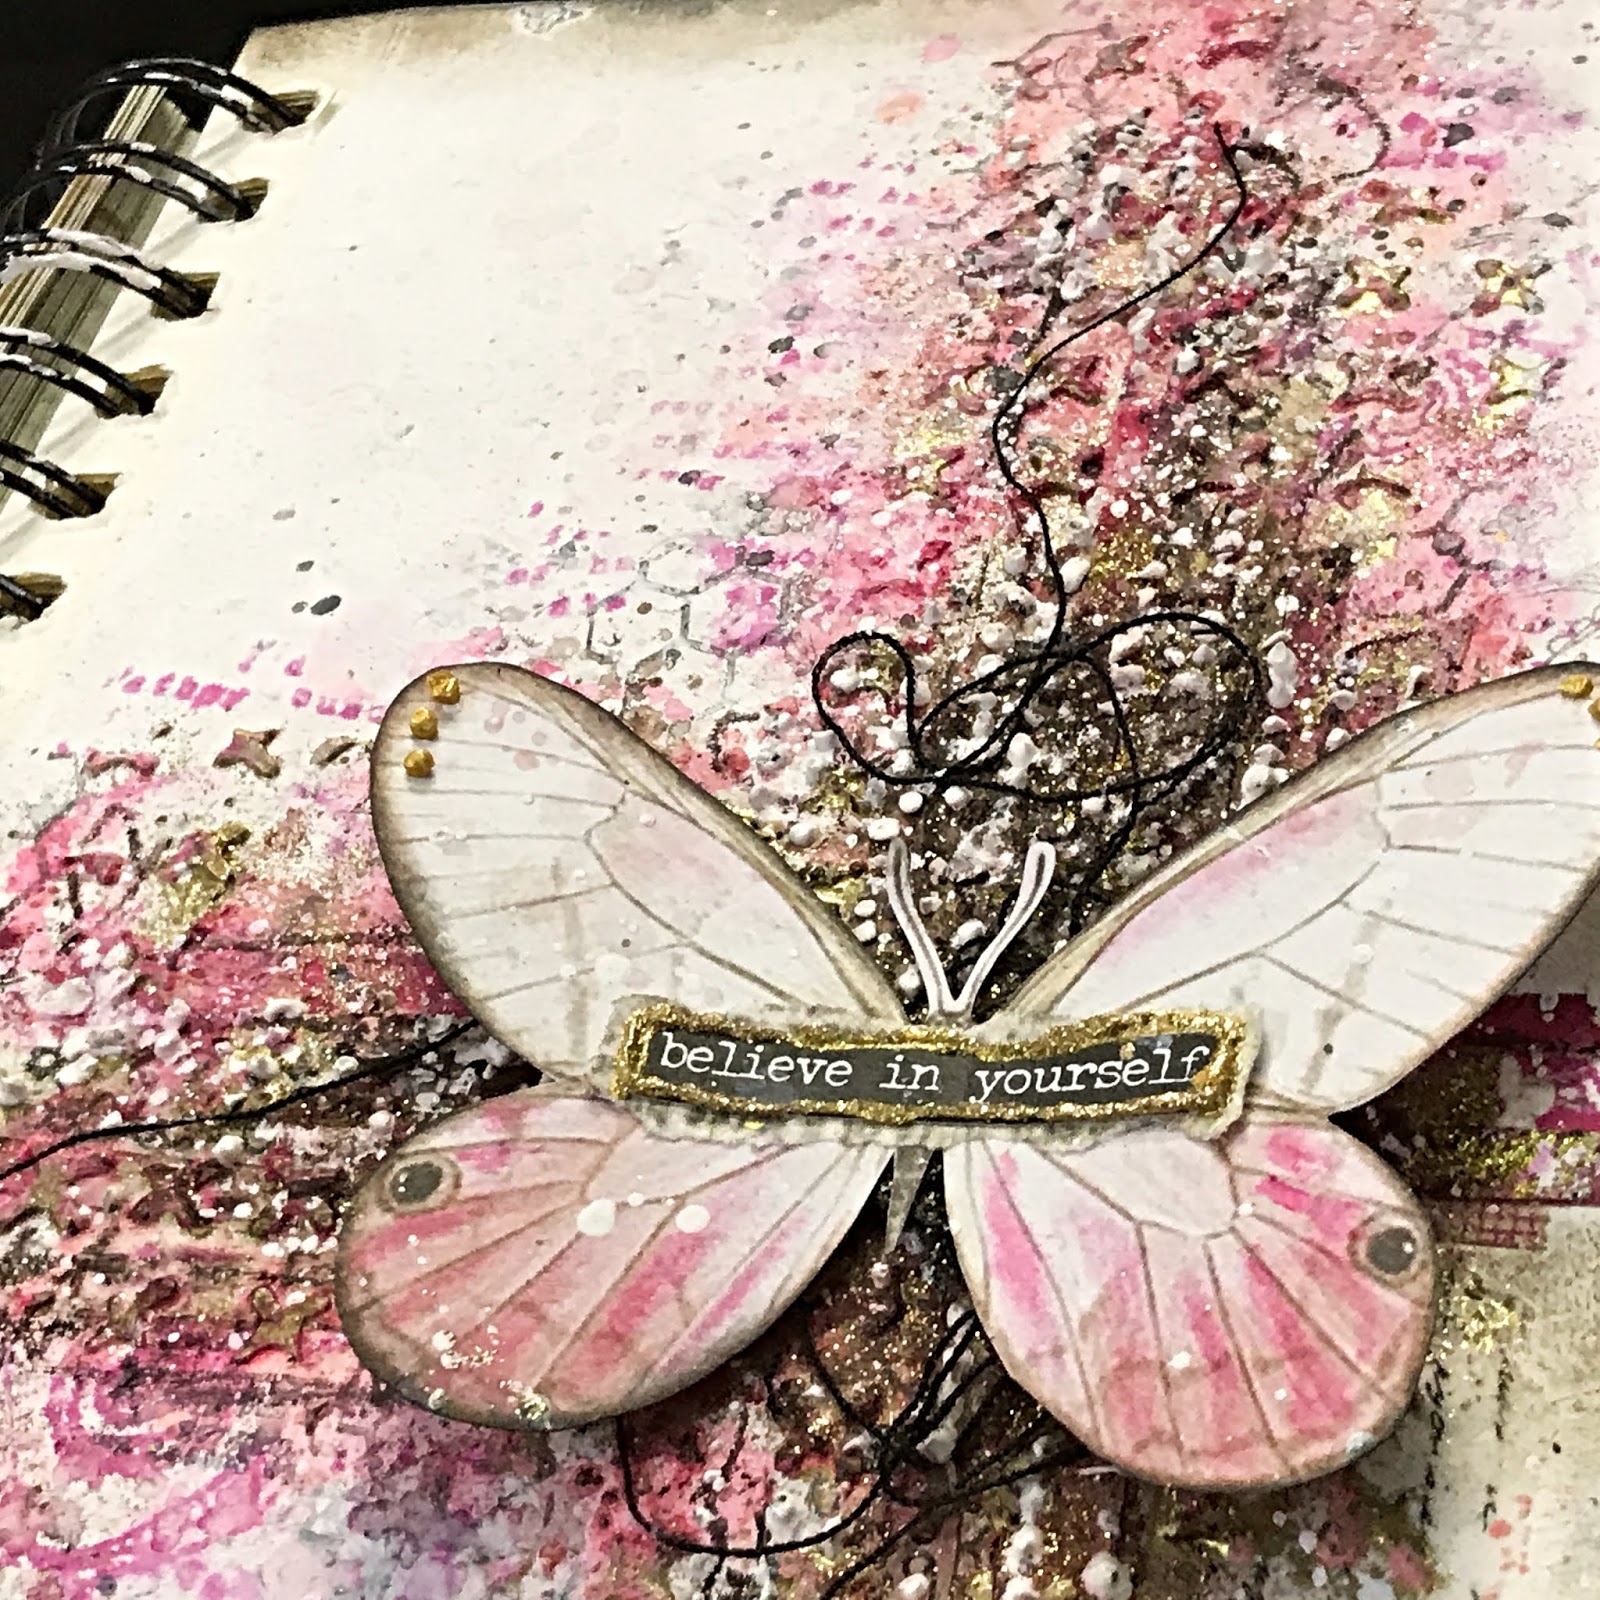
Art Journal Page- Believe in Yourself by Dutt Preety


Hi friends :)
Good Morning !

Today, I'd like to share an Art Journal Page- Believe in Yourself.
This is my inspiration for Art & Soul Studio's February Challenge
I was inspired by the pinks in the beautiful moodboard. For bling, I've added gold glitter tape, done heat embossing with gold embossing powders & added a few gold drops. 
I've prepared a step-by-step pictorial of the process.  
Let’s get started :) 

Art Journal Page- "Believe in Yourself"


Pictorial:
Step 1: Created the basic composition by adhering washi tapes, fabric tapes & gold glitter tape to the art journal page using matte gel. Applied clear gesso to the page to prepare it for media work

Step 2: Applied Modelling paste through a Tim Holtz stencil & while it was wet, sprinkled on gold embossing powder and heat embossed it using a heat tool 

Step 3: Added color to the page using Gelatos. Scribbled on the textured surface with the gelatos and also watered them down to add splatters to the page. (Applied some of the color using a palette knife to get a grungy look). While the color was wet, sprinkled Gold Tinsel embossing powder to some areas and heat embossed it to get a textured and glittery look

Step 4: Added dark color to the page (especially in the center) using a dark brown Gelato, also distressed the edges of the page using the gelato & distress inks. Created splatter with the watered down gelato

Step 5: Did background stamping using AAll & Create stamps, distress inks & oxide inks

Step 6: To add more texture and interest, applied modelling paste to the page through a stencil and also created white splatter using watered down white gesso 

Step 7: Adhered black thread to the wet modelling paste 

Step 8: For the focal element, cut out a butterfly from a pattern paper by Stamperia & used a Tim Holtz sticker as the quote. To make the butterfly match the background, added some shading to it using a pink gelato and a blending stump. Outlined the sentiment with an outliner and heat embossed it in gold to make it stand out. 


Products Used:

Tim Holtz Idea-ology Small Talk Stickers

Please don't forget to join Art & Soul Studio's February Challenge. There are awesome prizes on offer & we have a stunning mood board every month. For inspiration, please check out the gorgeous projects made by my talented team mates. All the details about the February Challenge can be found HERE. And you can upload your challenge entries HERE on facebook. 


Lastly, please do share your beautiful work with us on our Facebook group- Soul Sisters, we would love to see what you create with supplies from the Art & Soul Studio Store.

Thanks a lot for your precious time :)
Stay Blessed! 
Preeti

Thursday, 7 February 2019

Vintage Art Journal Spread- Make Your Mark by Dutt Preety

Hi friends :) 
Good Morning ! 

Today, I'd like to share a Vintage Art Journal Spread- "Make Your Mark"
I've prepared a step-by-step pictorial of the process :) 

Vintage Art Journal Spread- “Make Your Mark”


Pictorial:

Step 1: To build the background, adhered collage paper and few washi tapes using matte gel and then applied clear gesso on top of the pages to prepare them for mixed media work

Step 2: Mixed Modelling Paste with Heavy White Gesso to get a stark white paste

Step 3: Applied the prepared paste through a stencil onto the pages using a palette knife

Step 4: Added colors to the pages using Lindy's Gang gorgeous sprays. Applied the pinks first, dried the pages with a heat tool and then added the blue. Also, created ink splatter with the sprays to have a grungy, worn out, vintage look

Step 5: To give an old, vintage and distressed look to the pages, applied distress inks/oxides to the edges

Step 6: Did background stamping using AAll & Create Stamps.

Step 7: Fussy cut few elements from 7 Dots Studio's beautiful Air Mail Collection. Then collected all the elements for layering including black thread, old stamps, die cuts, old book pages and the fussy cut elements & stickers. Distressed their edges and created a visually pleasing composition and adhered everything down with matte gel. 

Products Used:

Lindy's Gang Spray- Bodacious Blush
Lindy's Gang Spray- Ramblin’ Rose Pink
Lindy's Gang Spray- Black Orchid Silver
Lindy's Gang Spray- Afternoon Delight Denim

Please don't forget to join Art & Soul Studio's February Challenge. There are awesome prizes on offer & we have a stunning mood board every month. For inspiration, please check out the gorgeous projects made by my talented team mates. All the details about the February Challenge can be found HERE and you can add your challenge entries in the Facebook Album HERE

February 2019 Moodboard

Lastly, please do share your beautiful work with us on our Facebook group- Soul Sisters, we would love to see what you create with supplies from the Art & Soul Studio Store.

Thanks a lot for your precious time :)
Stay Blessed!
Preeti

Sunday, 2 December 2018

Pair of Mixed Media Tags By Dutt Preety (December Challenge Inspiration)

Hi friends :)
Good Morning 

Today, I'd like to share a Pair of Sea Inspired Mixed Media Tags.
This is my inspiration for the December Challenge.
We have a beautiful, cool, summery, sea & beach themed December moodboard.
I've prepared a lil' pictorial for these tags. 
Hope you are inspired & join the challenge to win amazing prizes! 

Pair of Sea Inspired Mixed Media Tags


Tag 1: Original


Tag 2: Be True


Pictorial:

Step 1: Cut out 6 by 3 inch tags out of thick cardboard & then applied modelling paste through Tim Holtz stencils to create background texture on the tags. Then adhered chippies, sea shells, charms and art stones of various sizes onto the tags to create visually pleasing compositions. Used 3d Gel Medium for heavier items and Soft Gel Medium for the lighter items & then applied white gesso to everything to prepare them for coloring.

Step 2: Created the first layers of color, by adding Lindy's sprays in different shades of blue and brown. Dried between each layer. 

Step 3: To get more shine & intensity of color, applied Finnabair's metallic acrylic paints (sprayed with water to create movement of the color)

Step 4: Highlighted the textures and toned down the intense colors on the raised surfaces by applying Nuvo Mousse in different shades of blue, Inka Gold wax & then did dry brushing with white gesso to highlight some of the areas

Step 5: In the end, tied hemp twine to the tags, added Tim Holtz quote chips for the titles, added one little glass bottle filled with sand to each tag, adhered cheese cloth with soft gel, distressed the edges of the tags with distress inks & created white ink splatter.

Products Used:

Lindy's Spray- Azure Sea Asters
Tim Holtz Idea-Ology Quote Chips
Distress Ink- Vintage Photo
Nuvo Embellishment Mousse-Mother of Pearl
Prima Finnabair's Art Stones

Please don't forget to join Art & Soul Studio's December Challenge. There are awesome prizes on offer & we have a stunning mood board every month. For inspiration, please check out the gorgeous projects made by my talented team mates. All the details about the December Challenge can be found HERE.

December Moodboard

Lastly, please do share your beautiful work with us on our Facebook group- Soul Sisters, we would love to see what you create with supplies from the Art & Soul Studio Store.

Thanks a lot for your precious time :)
Stay Blessed! 

Blue Fairy on a Pink Donut Fantasy Acrylic Painting Tutorial

  Blue Fairy on a Pink Donut Fantasy Acrylic Painting Tutorial Glamour Shots Hey there everyone, Kristina ...