Showing posts with label Faber-Castell. Show all posts

Wednesday, 20 February 2019

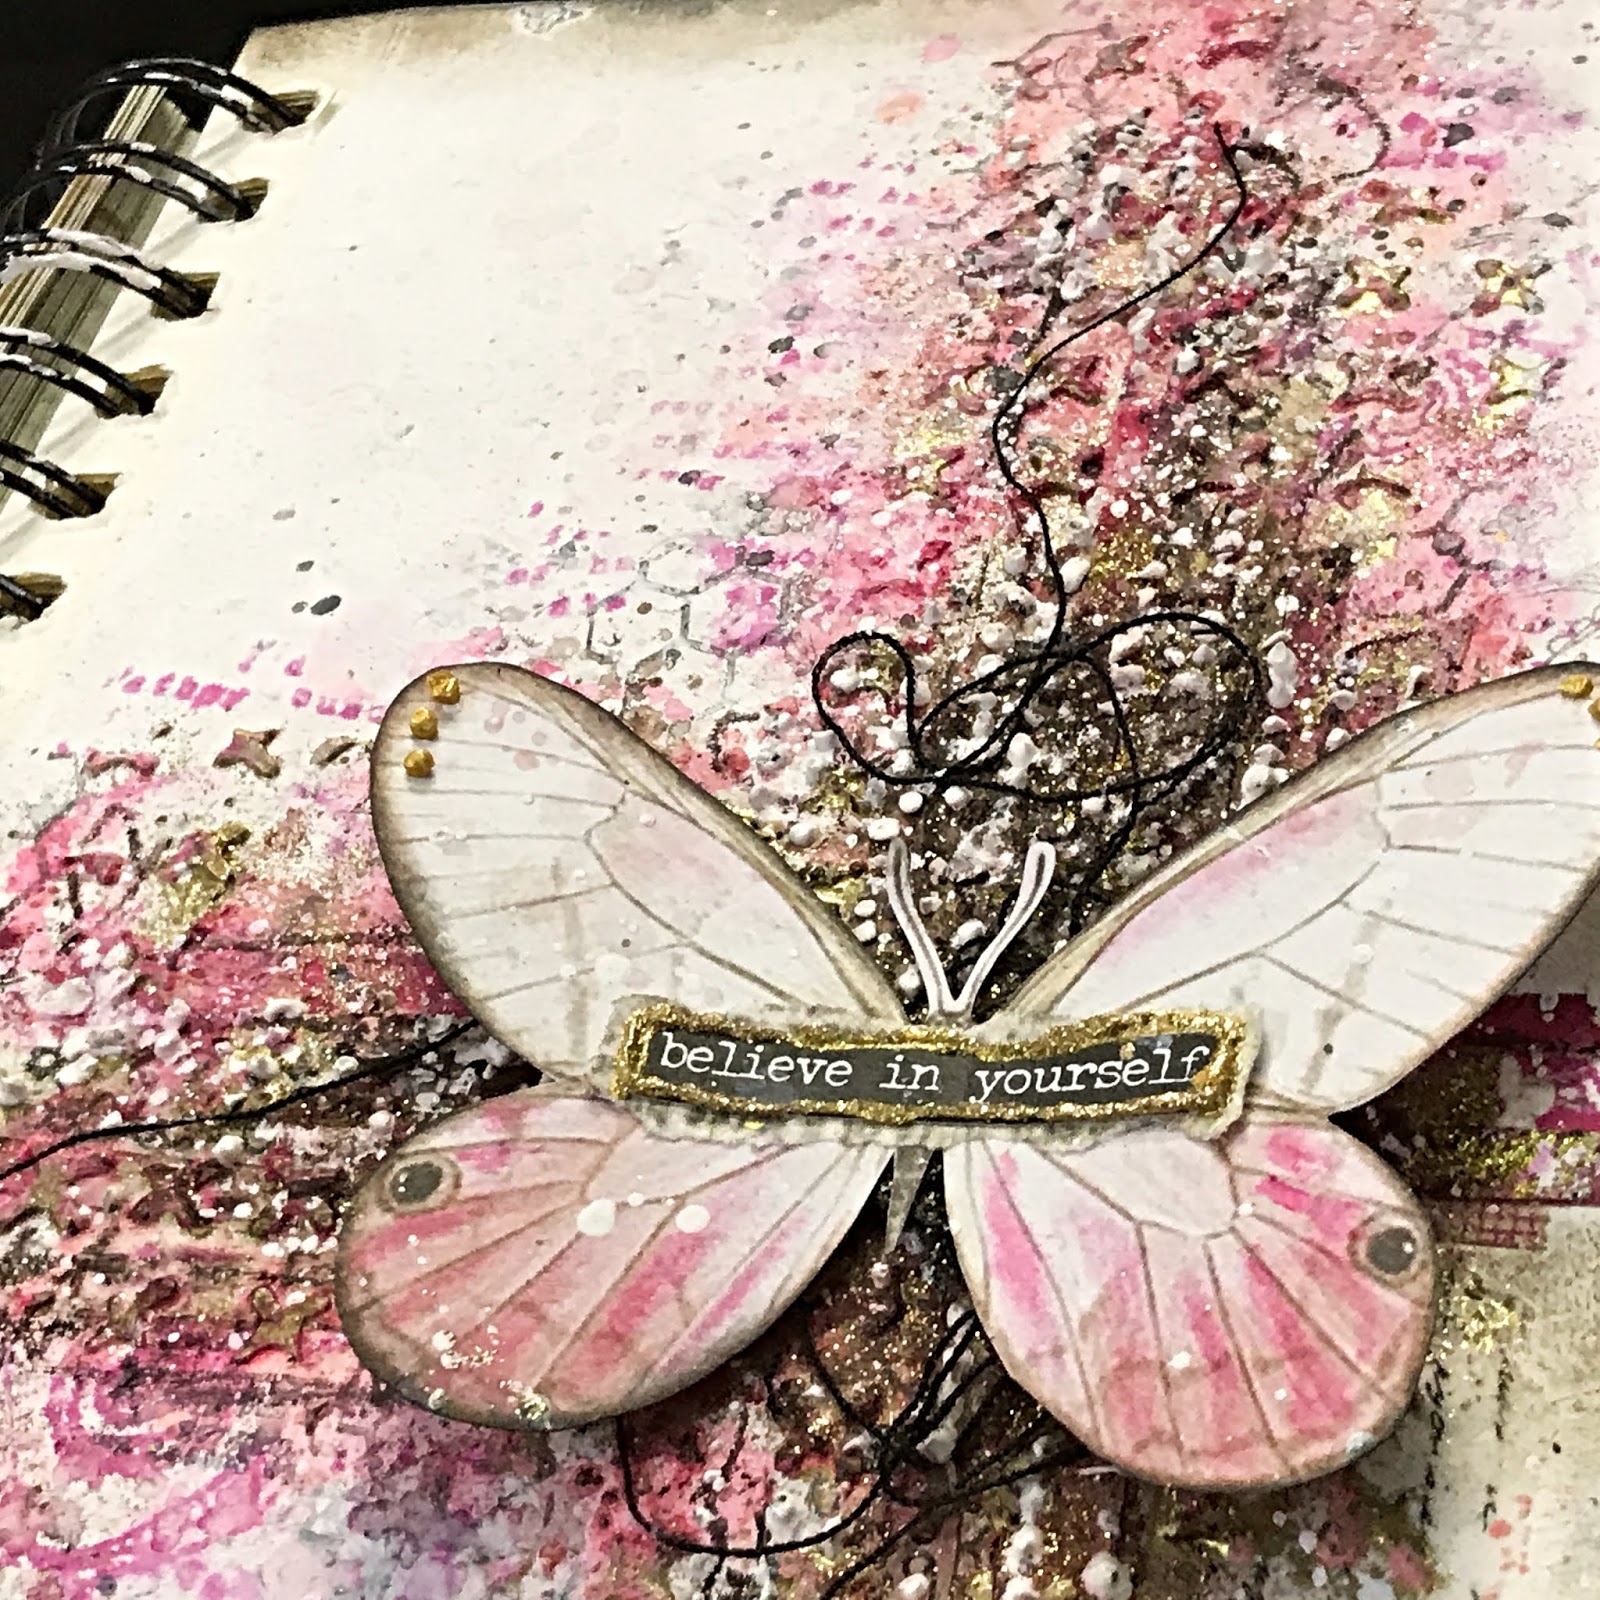
Art Journal Page- Believe in Yourself by Dutt Preety


Hi friends :)
Good Morning !

Today, I'd like to share an Art Journal Page- Believe in Yourself.
This is my inspiration for Art & Soul Studio's February Challenge. 
I was inspired by the pinks in the beautiful moodboard. For bling, I've added gold glitter tape, done heat embossing with gold embossing powders & added a few gold drops. 
I've prepared a step-by-step pictorial of the process.  
Let’s get started :) 

Art Journal Page- "Believe in Yourself"


Pictorial:
Step 1: Created the basic composition by adhering washi tapes, fabric tapes & gold glitter tape to the art journal page using matte gel. Applied clear gesso to the page to prepare it for media work

Step 2: Applied Modelling paste through a Tim Holtz stencil & while it was wet, sprinkled on gold embossing powder and heat embossed it using a heat tool 

Step 3: Added color to the page using Gelatos. Scribbled on the textured surface with the gelatos and also watered them down to add splatters to the page. (Applied some of the color using a palette knife to get a grungy look). While the color was wet, sprinkled Gold Tinsel embossing powder to some areas and heat embossed it to get a textured and glittery look

Step 4: Added dark color to the page (especially in the center) using a dark brown Gelato, also distressed the edges of the page using the gelato & distress inks. Created splatter with the watered down gelato

Step 5: Did background stamping using AAll & Create stamps, distress inks & oxide inks

Step 6: To add more texture and interest, applied modelling paste to the page through a stencil and also created white splatter using watered down white gesso 

Step 7: Adhered black thread to the wet modelling paste 

Step 8: For the focal element, cut out a butterfly from a pattern paper by Stamperia & used a Tim Holtz sticker as the quote. To make the butterfly match the background, added some shading to it using a pink gelato and a blending stump. Outlined the sentiment with an outliner and heat embossed it in gold to make it stand out. 


Products Used:

Tim Holtz Idea-ology Small Talk Stickers

Please don't forget to join Art & Soul Studio's February Challenge. There are awesome prizes on offer & we have a stunning mood board every month. For inspiration, please check out the gorgeous projects made by my talented team mates. All the details about the February Challenge can be found HERE. And you can upload your challenge entries HERE on facebook. 


Lastly, please do share your beautiful work with us on our Facebook group- Soul Sisters, we would love to see what you create with supplies from the Art & Soul Studio Store.

Thanks a lot for your precious time :)
Stay Blessed! 
Preeti

Sunday, 3 June 2018

Monday, 29 January 2018

Vocal Beauties: Mixed Media tutorial - By Karen Arribas

Hello hello.....I have a video this time Yay!

I was inspired to do this piece when I saw the word Vocal Beauties on the Art-C ephemera page and decided to go with it and vocal beauties evolved. I was wanting to capture an air of confidence of the woman and the inner knowing that your voice matters....I've captured it all on video which you can view on the link below.....Enjoy!

https://youtu.be/hBSx6ZiV_zc


Supplies list:

Kaiser Color - Tropical water
Jane Davenport - White paint over pen
Liquitex - white Gesso
Liquitex - Matt gel Medium
Golden High flow Acrylic - Transparent Red Iron Oxide and Raw Umber
Art C - Ephemera Pack
Tombow's - Brights, Portrait and Muted you can also purchase the pens seperately rather than the packets.
Stabilo all marks pencil - Black

All the above can be purchased from the Art and Soul Studio online shop: https://artandsoulstudio.com.au/index.php?route=product/search&search=faber%20castell&description=true

Faber Castell coloured pencils can be purchased at K-mart etc.

I hope you enjoyed and are inspired by this painting. Let me know if you'd like to see similar lessons. Thanks for looking.


xx


Tuesday, 14 November 2017

Faber-Castell - Big Brush Pens

Hello Soul Sisters
 
Today I am sharing with you the Faber Castell Big Brush Pens that are in the Art and Soul Studio Shop.
 
Stamping is the technique I would like to share with you. Yes you read that right I did say stamping. Instead of using ink pads just use your big brush pens to colour in your stamp.
I used my misti so that I could do a shadow stamp.
 
Maybe you would like to use two different colours on your stamp.
The first image is where I used two side by side. The second image is where I used two side by side but wet the paper before hand, make sure it is damp but no pools of water. The third image is where I stamped twice with two different greens over the top of each other.
 
 
How About using four colours on your stamp
 
 This technique is still stamping but once I stamped the image I sprayed water to get the colour in the background. Once happy with the background colour I heat set it.
 
Another watercolour stamping technique is to stamp the image then either leave it to dry naturally or hit it with a heat gun (make sure it is 100% dry or this technique wont work), once it is dry using your big brush pen (scribble on your mat and spray water) create a watercolour effect with your paint brush.
 
I hope that you found this helpful. There are many other things you can do with you big brush pens, maybe you can go on an adventure with them. 
 
The stamps I used are:
 
Happy Creating


Saturday, 15 July 2017

You Have To Believe

Hello Soul Sisters.
 
Today it is my turn up on the blog, yes its a lot later than normal, so I do apologise for that, but I have created something that I totally love and it would have to be one of my favourite pieces.
 
It is an art journal page created with lots of yummy goodies from the shop.
 
 
I started this journal page by covering it with thick layers of gesso, making sure that I created lots of texture. I applied it with my palette knife so that I didn't have any brush strokes. I left it to dry for 5 hours and came back and it was still wet. For about half an hour I used my heat gun but it still wasn't dry. It looked dry but it was just the skin on top that was. So in the end I had to leave it to dry overnight.
 
Once it was finally dry I used three different magical shakers. The first layer I sprinkled on the page before I added water. I then added water to activate the powder. With my heat gun I started to dry the puddles of water, but I did not dry them completely. While the puddles where still there I added another colour of magical shaker, sprayed more water to get the colours moving. I repeated this process for my last layer. I had it almost completely dry and then using my roll of paper towel I  rolled it over the surface picking up the colours that hadn't dried.
 
For this next stage I added the stamping, sprayed through a stencil and then used gesso through another stencil

Here is a close up 
 
I worked out where my cluster was going to be placed I then scribbled some circles in the approximate place when the corners would be. I used a stabilo all and a white pen to achieve the look I was after. I then repeat this process in five other places on the background.  
 
This is a close up of my cluster
 
products below can be found in the Art and Soul Shop
 
 
Happy Creating


Blue Fairy on a Pink Donut Fantasy Acrylic Painting Tutorial

  Blue Fairy on a Pink Donut Fantasy Acrylic Painting Tutorial Glamour Shots Hey there everyone, Kristina ...