Showing posts with label ATC's. Show all posts

Saturday, 12 January 2019

Set of Mixed Media ATCs by Dutt Preety


Hi friends :)
Good Morning !

First of all, I'd like to wish everyone a very happy, colourful & peaceful 2019.

For today's post, I've prepared a Set of Mixed Media ATCs (Artist Trading Cards). I was inspired by nature & all the green hues in the January Moodboard. The theme for January is to "use texture". 
Hope you join the challenge to win amazing prizes! All the details for the January Challenge can be found HERE. 

Set of Mixed Media ATCs


ATC 1: Smile

ATC 2 : Love 

ATC 3: Hope

Process:
1. Cut thick chipboard into 2.5 by 3.5 inch (atc size) sized rectangles
2. Applied modelling paste onto each atc using a palette knife to create texture
3. Used air dry clay to create mushroom like shapes & then adhered them to the atcs using gel medium
4. Applied black gesso to the atcs to prepare them for coloring
5. Started the coloring process by adding Lindy's sprays
6. To add shine & intense color, used Finnabair's metallic paints in shades of green, brown, red. Kept applying them using the dry brush technique, until I was happy with the blend of colors
7. Next adhered Finnabair's glass glitter, moss, sequins, sentiment tiles and alphas using soft gel medium 
8. In the end, added nuvo drops and ink splatter on the 3 atcs & distressed their edges with black soot distress ink

Products Used:

Ranger's Archival Inkpad- Jet Black
Nuvo Crystal Drops- Dandelion Yellow, Red Berry, Apple Green 

Please don't forget to join Art & Soul Studio's January Challenge. There are awesome prizes on offer & we have a stunning mood board every month. For inspiration, please check out the gorgeous projects made by my talented team mates. 

January Moodboard

Please do share your beautiful work with us on our Facebook group- Soul Sisters, we would love to see what you create with supplies from the Art & Soul Studio Store.

Thanks a lot for your precious time :)
Stay Blessed!

Preeti

Thursday, 8 November 2018

Artist Trading Coins by Dutt Preety

Hi friends :)
Good Morning !

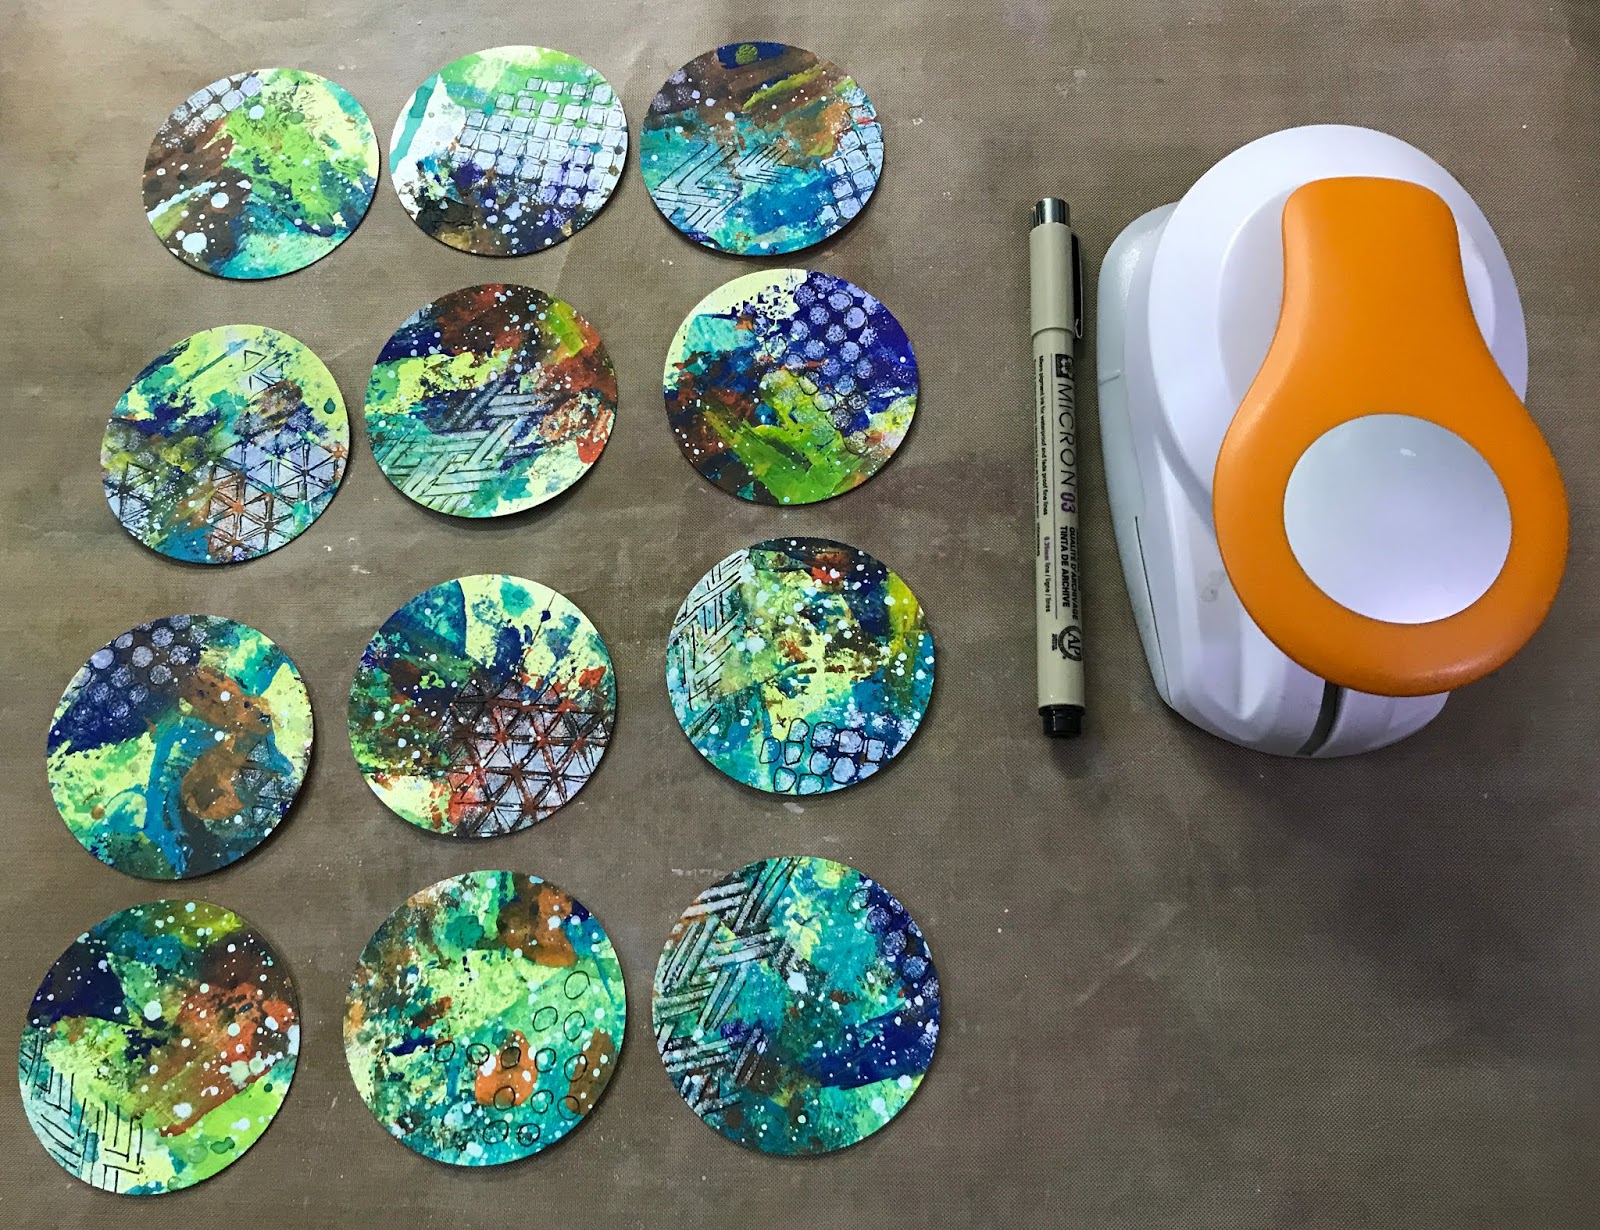
I'd like to share a Set of 12 Artist Trading Coins today. 
I've prepared a lil' pictorial for these. 
Artist Trading Coins are very popular nowadays, these are 2.5 inches in diameter and serve as a variant for ATCs or Artist Trading Cards. These little pieces of art are usually exchanged between artists and crafters from all over the world. It is a lot of fun to make these & once you get started, they can be quite addictive :) 

Set of Artist Trading Coins 


1. Artist Trading Coin- Real


2. Artist Trading Coin- Happy


3. Artist Trading Coin- Trust


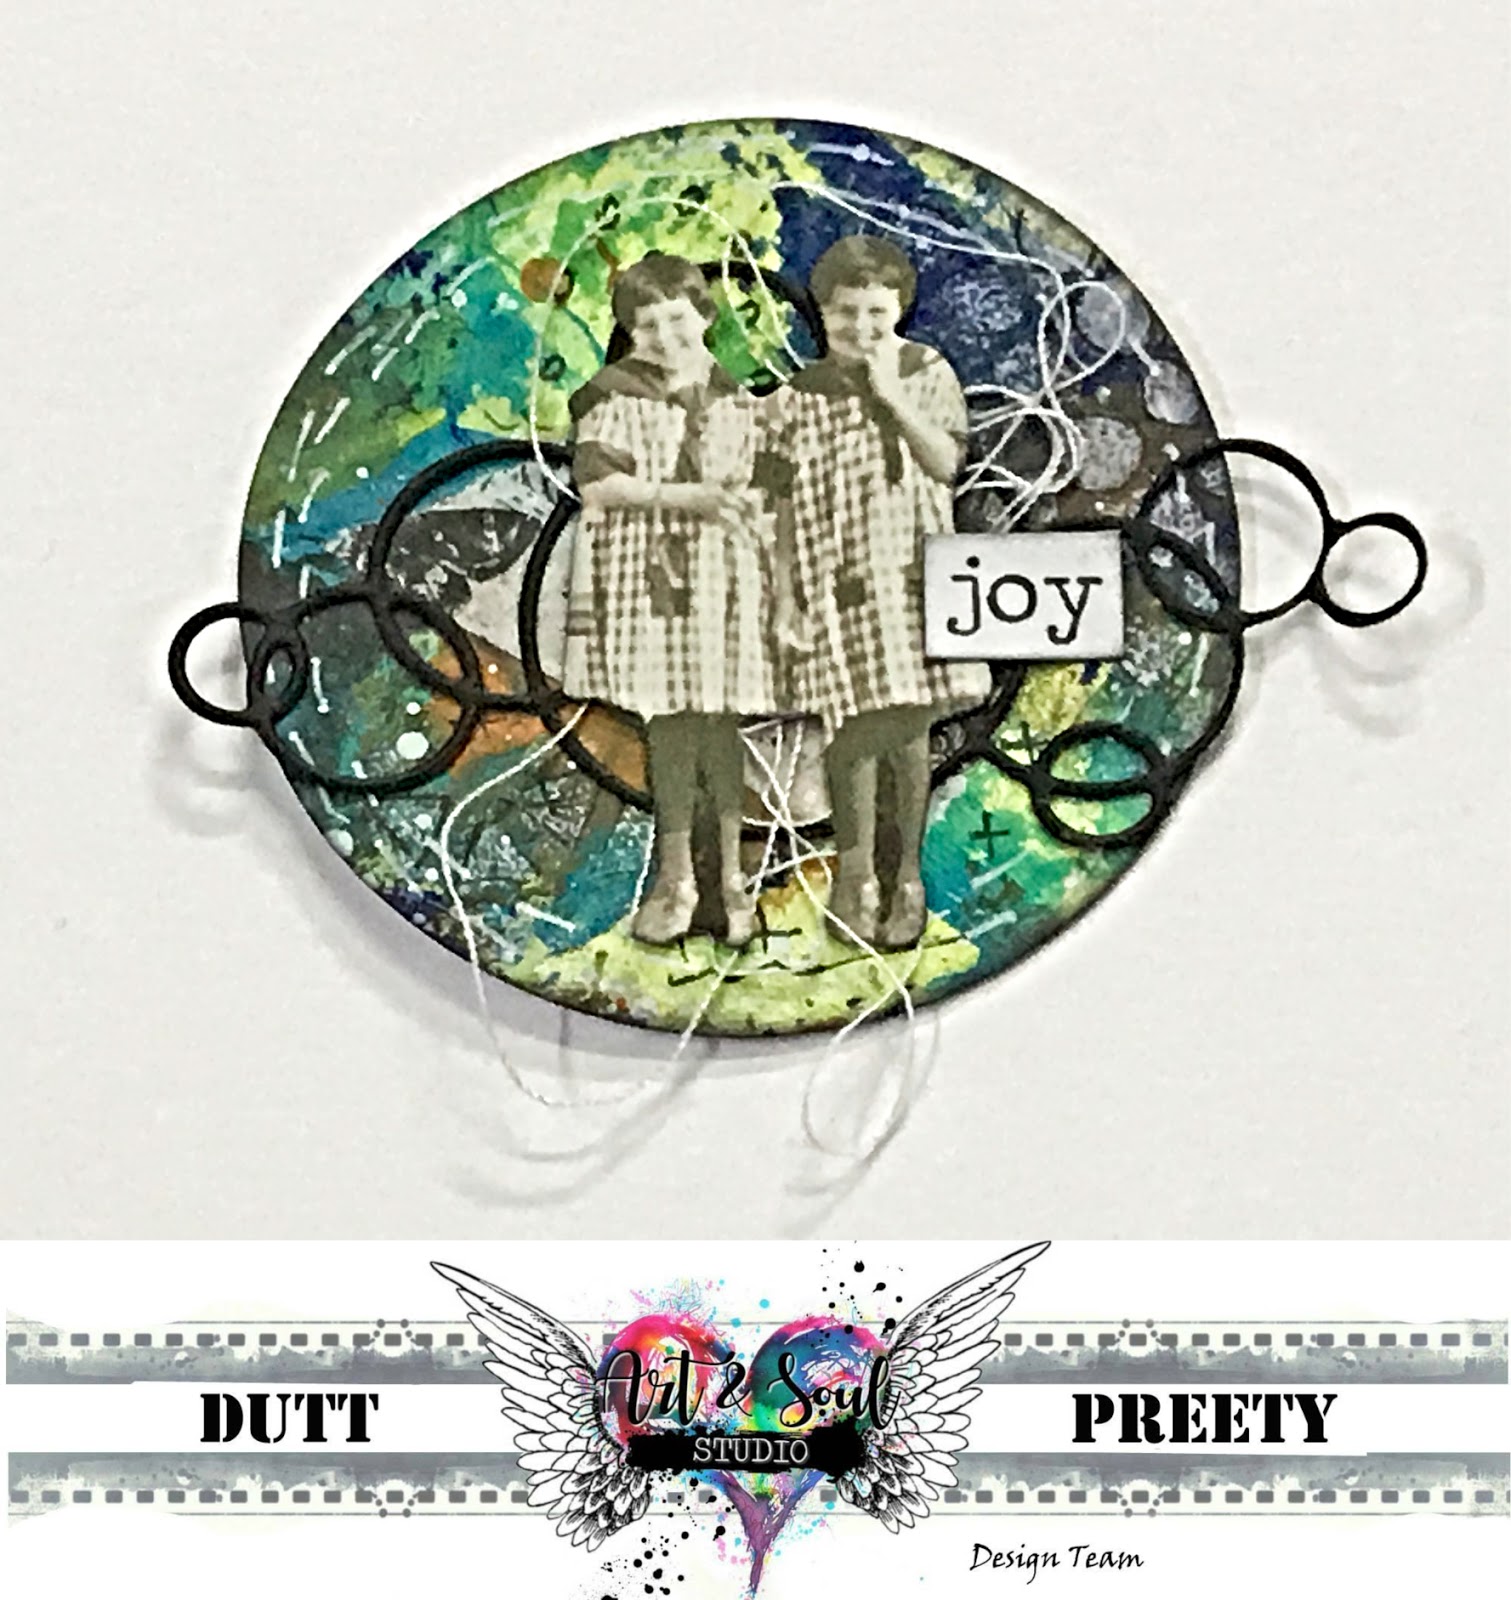
4. Artist Trading Coin- Joy


5. Artist Trading Coin- Kind


6. Artist Trading Coin- Love


7. Artist Trading Coin- Little


8. Artist Trading Coin- Say


9. Artist Trading Coin- Positive


 10. Artist Trading Coin- Calm


11. Artist Trading Coin- Friends


12. Artist Trading Coin- Remember


Pictorial:

Step 1: Randomly Applied Dylusions Paints to Strathmore Watercolor paper 
(the messier, the better)

  Step 2: Created ink splatters and a few pops of color using Dylusion Sprays, Lindys Gang Sprays and Distress Paints (again, done very randomly)

 Step 3: Sponged on white gesso through Tim Holtz Mini Stencils to create texture & interest in the background (modelling paste or crackle paste could also be used for a more textured look) 

 Step 4: Punched out twelve 2.5 inch circles & outlined the stenciled patterns with a fine tip black pen

 Step 5: Darkened the edges of the circles with distress ink and drew on double stitched borders around the circles using a white gel pen (you can even add real stitching to the coins for a more textured look)

 Step 6: Used Tim Holtz paper dolls as the focal images. Created the composition on each coin & layered on washi tape, thread, Tim Holtz stickers & die cuts.

Products Used:


Please don't forget to join Art & Soul Studio's November Challenge. There are awesome prizes on offer & we have a stunning mood board every month. For inspiration, please check out the gorgeous projects made by my talented team mates. All the details about the November Challenge can be found HERE. 


Lastly, please do share your beautiful work with us on our Facebook group- Soul Sisters, we would love to see what you create with supplies from the Art & Soul Studio Store. 

Thanks a lot for your precious time :)
Stay Blessed!

Wednesday, 29 November 2017

Technique post by Karen Arribas.

Welcome to the next lesson its a short technique post. I decided to do a background journal page this can also be used for cards or ATC's.

I used Nuvo Embellishment Mousse (Cornflower Blue) and covered the page. This mousse can be used as a paint by just adding water or a paste to build texture, it also has a lovely metallic sheen to it.


I then used liquitex white gesso and applied with a sponge at the top of the page  to give is a sort of gradient effect.


To make the bottom darker I used Jane Davenport dark blue acrylic paint from the paint set 2.


I used the Jane Davenport light blue from the same set and painted an area (on a disposable paper palette) to be used for the stamp.


I used the Carabelle stamp 'Pivots rigolos' and 'Believe in magic' stamp. I then stamped them across the journal page to give a subtle print.


Finally I mixed some Golden Molding Paste with black gesso and used a star stencil across the top of the page. I then sprinkled some red glitter on top.


To finish with I used the Jane Davenport Inkredible pen to draw some lines, so it looked like the stars are dangling. I then added some white dots ( kaisercraft clear stamp) at the bottom of the page to frame it better.


I hope you enjoyed this lesson and find it useful maybe for the upcoming holiday season. 
All the art materials can be purchased from the art and soul studio online store: https://artandsoulstudio.com.au/

Thanks for stopping by x


Sunday, 29 October 2017

Gelli Love - Karen Arribas

Hello art lovers, I hope you have had a lovely weekend? and here is an art lesson to top it off.

Today I'll be doing a post producing a picture from Gelli Printing (My new favourite!). To start with you will need a Gelli Print (mine is a large format 8x10) you can use any size you feel comfortable with.
I used some A6 card to print on and a brayer to spread the paint around.

Materials used:
Gel Press 8X10
Various Acrylic paints (if you are looking for some cheap acrylics kaisercraft paints are a good option)
Brayer (any size)
A6 plain card
Black Archival ink
Turquoise - Dylusion spray
Kaisercraft  clear stamp- Script
JD stamp - it comes with her paint set, but you can use any stencil you like.

All material (or equivalent) are available on the Art and soul studio online shop: https://artandsoulstudio.com.au/


Firstly I produced some grey backgrounds using black, white and yellow pink acrylic (any brand will do, but I prefer using the cheaper ones to experiment with at first). I made some simple circles and marks using the other end of the brush to add interest. 


I then used some of the card to pull some prints, I just use the my hand to rub on the back. The Gelli print really grips the paint and makes really interesting marks.


 Secondly I made some more print using coloured acrylic (warm yellow and red) to to add some interest I also used the aqua marine Dylusion spray.


I created a number of different backgrounds using different stencils.


Once you have a good number of backgrounds you can start cutting out the shape of the houses and windows.


I then got some archival black ink and outlined the houses and windows I also used the kaisercraft script clear stamp and printed in random places to add more interest. I also used a black pencil to add some birds on wires.


I hope you enjoyed this lesson and it inspires you to invest in a gelli print or to use your current one! I'd love to see your designs in the soul sister facebook.


Tuesday, 10 October 2017

Technique Tuesday ..... by Lynn Good

Good morning everyone,
Today I would like to share a couple of techniques using the Colour Arte range of  Vivid Ultra-Metallics Acrylic paint.


I have used these paints for the start of my atc's which I will show the completed cards in a later post.

On the first card I have used White Crackle Paste combined with Teal Zircon Vivid paint through a Scrapfx Stencil.


I have done the same on white cardstock without colouring the crackle paste

Once dried I have used the True Metals True-Silver over the black card and Sunburst over the white card stock.  I have then used Autumn Leaf over the stencilled area of the white card (I applied this with my finger)


Another black versus white card stock - I have used Orange Peel and Ginger Peach through a mini stencil with a make up sponge.


In the last two I have used the Ginger Peach paint to cover the entire black card with a paintbrush and stamped using a script stamp.  I spread some paint onto the craft mat and stamped directed into it.


So there is more than one way to use the Vivid Ultra Metallic paints - brush, stencil, mix with paste, finger application, stamp - the list goes on.  I love these paints and I hope this has opened up to ideas on how to use them

Here is a link to the paints in the Art and Soul store:


Til next time - Happy Crafting


Blue Fairy on a Pink Donut Fantasy Acrylic Painting Tutorial

  Blue Fairy on a Pink Donut Fantasy Acrylic Painting Tutorial Glamour Shots Hey there everyone, Kristina ...